I had a vague recollection of a River Cottage recipe for knocking up Ginger Beer in just a few minutes, and as I rather like drinking the stuff, was bored and was having a weekend of doing a lot of things with yeast*, I thought I’d give it a try. After all, how hard could it be?
Ingredients
Makes about 1.8 litres
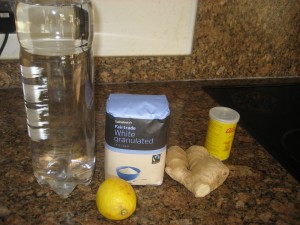
1600ml water – w/o chlorine if possible, but the lemon juice should offset that
1/4 tsp yeast
225g sugar
juice of 1 lemon
3 big lumps of ginger – grated not chopped, you want juice
2 teaspoons of runny honey
You need a sterilised 2 litre plastic bottle, the type that fizzy drinks and water come in. Rather than sterilising it, I just paid 17p at Morrisons for a new one and got the water thrown in too.
You also need a device to get the Stuff into the bottle. I used a rolled up piece of A4 paper, but many people favour plastic funnels. If your funnel neck is narrow, you’ll likely need a chopstick to poke the mixture through when it gets stuck
A 2 litre jug helps and you need some cheesecloth or muslin or something to use as a fine meshed filter. A fine sieve might also do it, but would be annoying to clean.
Method
You have a couple of variables to adjust depending upon how gingery you like it and how fizzy you’d like it to be.
If you like a mild flavour then chop your ginger (or blender it), whereas if you like a fuller flavour then grate it. Grating releases more of the juicy bits from the stringy fibrous bits of ginger root. If you like it fizzier, then use half a teaspoon of yeast, but please do be careful not to explode your bottle all over the place by over pressurising it. Do not use a glass bottle.
The method is essentially mixing up all the ingredients and get them into the bottle, I’ve found it easier and less messy if I do it in stages.
Grate your ginger into a 1 litre jug. To this, add the lemon juice, the honey, the sugar and about half a pint of water.
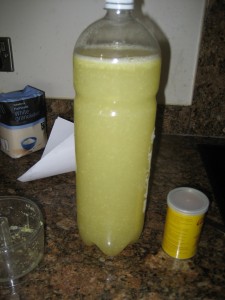
Mix it all up and pour it into your bottle, using more water to get the solids out of the jug and into the bottle.
Fill the bottle about half way, put the lid on it and shake it up a lot to get it all properly mixed together.
Carefully spoon in the yeast and top up the water until there’s 2 – 3 inches of air left. You need this space for the CO2 gas to expand into and to judge the pressure by seeing how squashable the bottle is.
Shake it up again.
Leave the bottle at room temperature for about 48 hours.
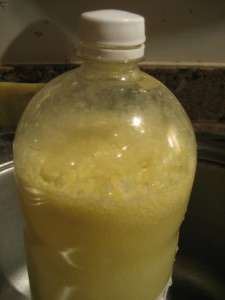
After about 12-18 hours, you should be able to judge progress by feeling the difference in pressure by squashing the bottle gently with your fingers. At the start it should be easily squashable. It’s ready when you can’t noticably squash it. You should also notice that most of the solids float to the surface, buoyed by all the gas.
Very very slowly release the pressure. Take many minutes over this, unless you like ginger beer fountains.
Pour the mix through your cheesecloth back into your jug to remove as much of the solids and sediment as you can possibly manage, and then decant back into your now cleaned bottle.
Store it in the fridge until you want to drink it. Fridge means cold, so the remaining yeast will be much slowed down. A bit of yeast action is good though, because it will put the fizz back into your ginger beer after you let it all out when decanting it.
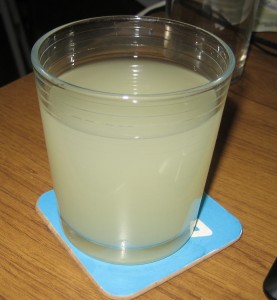
Enjoy over ice with a slice of lime, or mixed with some cheap blended whisky. I prefer it neat.


I know what I’m going to be doing the next time I have some fresh ginger that needs using up!